
Arduino Uno vs ESP32 for Electronics FYP Projects
A clear comparison for students choosing between Arduino Uno and ESP32 for electronics, IoT and sensor-based final year projects.
Rectronx
2026-07-29
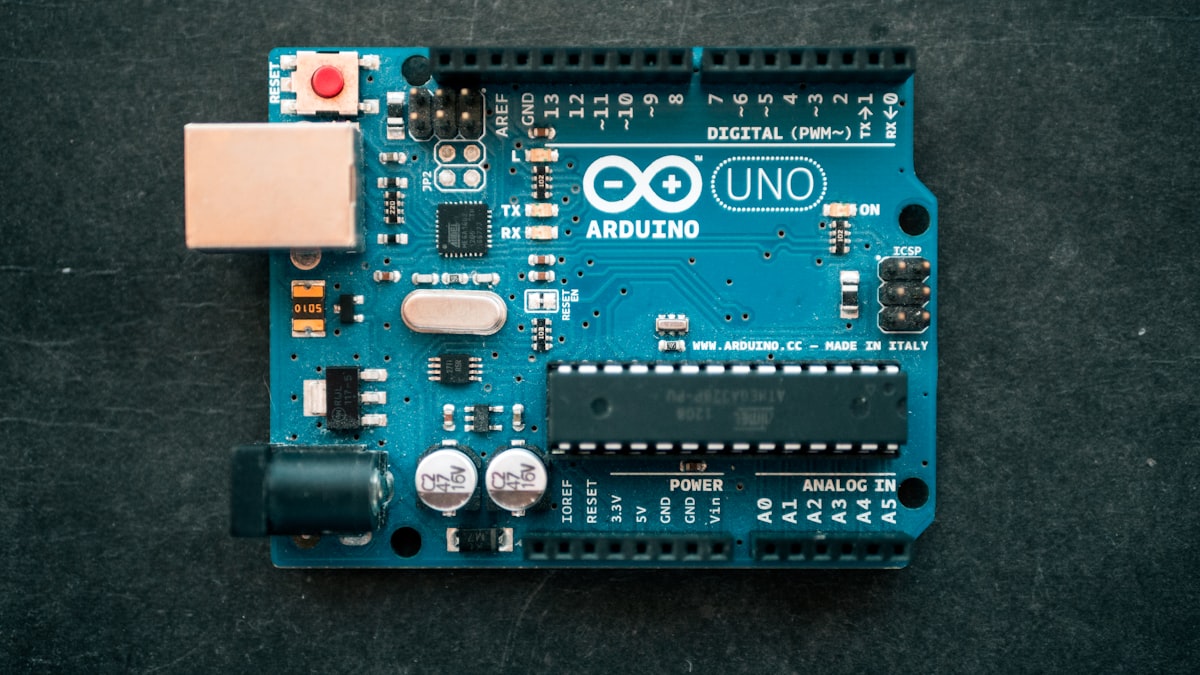
A clear comparison for students choosing between Arduino Uno and ESP32 for electronics, IoT and sensor-based final year projects.
Quick Summary
This article focuses on choosing Arduino Uno or ESP32. It is written for students who want a project that is useful, explainable and realistic enough to build before presentation week.
The best use case is sensor demos, automation prototypes, IoT dashboards, Bluetooth control and simple embedded systems. Keep the first version focused, then add upgrades only after the core workflow is stable.
What To Build
Start with a small working prototype. The project should have a clear input, a clear processing step and an output that can be shown to a panel.
Recommended structure:
- Define the user problem and the expected outcome.
- Build the smallest working version first.
- Add a dashboard, report, alert or admin page only when it supports the objective.
- Keep screenshots, logs and test results for the report.
Suggested Components or Tools
- Arduino Uno
- ESP32
- sensor modules
- display module
- power supply
These are practical starting points. The final choice should follow your budget, available parts, safety level and university scope.
Validation Method
compare the required voltage, WiFi need, number of pins, analog input requirements and library support before choosing.
Validation matters because a good FYP is not only about whether the system turns on. It must show that the design decision is reasonable and that the output can be trusted within the stated limitation.
Common Mistake
The common mistake is choosing ESP32 only because it sounds advanced, even when a simple Arduino project would be easier and more reliable.
Avoid this by writing your limitation clearly and testing the risky part early. A simple project with strong evidence is usually better than a complex project that fails during demo.
Final Advice
Before confirming this title, write one table with objective, input, output, test method and expected result. If every row is clear, the project is much easier to build and defend.
Explore more related ideas in the Rectronx Project Catalog, check electronics parts in the Component Database, and use the ESP32 Pinout Tool when wiring ESP32 projects.