
ESP32 Pinout Guide: Safe GPIO Pins for Student IoT Projects
A practical ESP32 GPIO guide for choosing safer pins, avoiding boot problems, and wiring sensors, displays, relays and UART modules for FYP demos.
Rectronx
2026-07-28
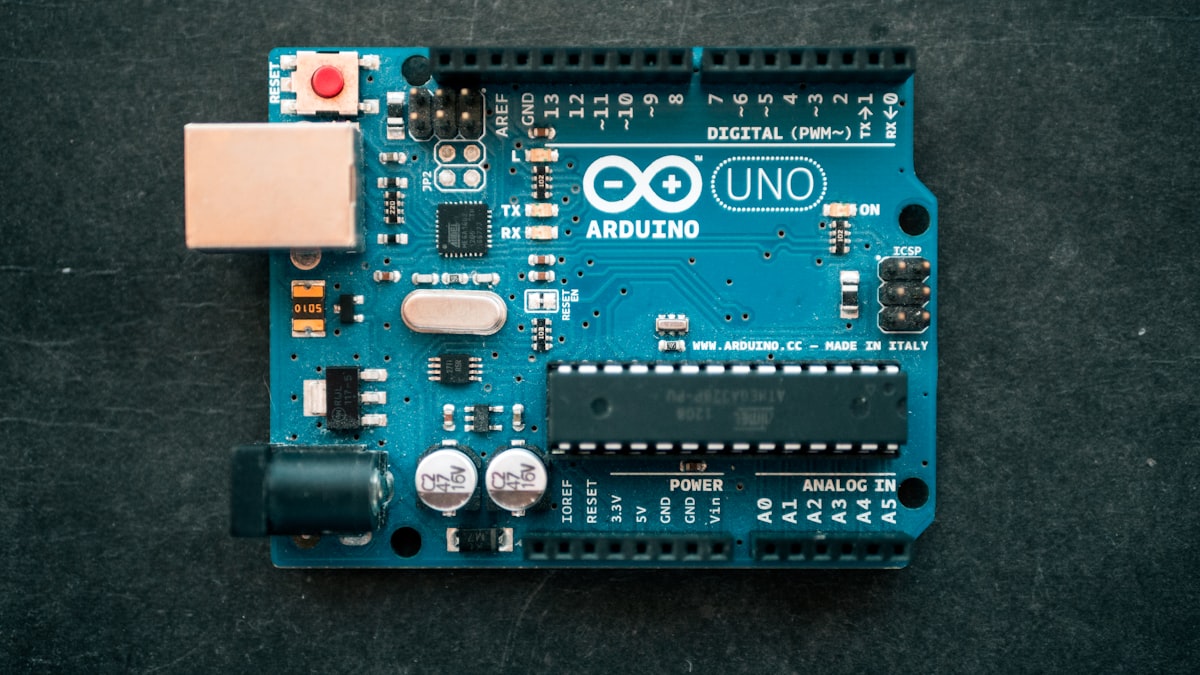
Choosing ESP32 pins looks easy until the project suddenly refuses to boot, the analog sensor stops reading when WiFi starts, or a relay does not switch because the selected pin is input-only. For student IoT and Final Year Project builds, the goal is not to use every possible ESP32 function. The goal is to choose pins that are easy to explain, easy to debug and stable during demo.
Before wiring your board, open the Rectronx ESP32 Pinout Tool. It lets you search GPIO, ADC, DAC, PWM, touch and boot pins, then copy a pin-specific link for your wiring notes.
Quick Safe Pin List
For many beginner ESP32 DevKit V1 projects, these pins are good starting points:
| Use | Pins |
|---|---|
| General digital I/O | GPIO16, GPIO17, GPIO18, GPIO19, GPIO21, GPIO22, GPIO23, GPIO25, GPIO26, GPIO27, GPIO32, GPIO33 |
| I2C OLED or sensor | GPIO21 SDA, GPIO22 SCL |
| UART2 modules | GPIO16 RX2, GPIO17 TX2 |
| SPI modules | GPIO23 MOSI, GPIO19 MISO, GPIO18 SCK |
| Analog with WiFi | Prefer ADC1 pins: GPIO32, GPIO33, GPIO34, GPIO35, GPIO36, GPIO39 |
This list does not mean every pin is perfect for every circuit. It means these pins are commonly easier to work with on ESP32 DevKit V1 boards.
Pins That Need Extra Care
ESP32 has boot strapping pins. These pins are checked during reset to decide boot behavior. On ESP32, the key strapping pins are GPIO0, GPIO2, GPIO5, GPIO12 and GPIO15. If an external circuit forces the wrong level during startup, the board may fail to boot or fail to upload code.
For FYP projects, avoid putting heavy or uncertain circuits on strapping pins unless you understand the boot level. If you must use one, test reset and upload many times before demo day.
Input-Only Pins
GPIO34, GPIO35, GPIO36 and GPIO39 are input-only on ESP32. They are suitable for sensors, buttons or analog input, but they cannot drive an LED, relay, buzzer or motor driver input.
This mistake is common because these pins appear like normal GPIO labels on some pinout diagrams. In your report, write them as input-only pins so your wiring decision is clear.
ADC2 and WiFi
ESP32 has ADC1 and ADC2. The practical warning is simple: ADC2 can conflict with WiFi. If your project reads an analog sensor while using Blynk, Firebase, MQTT, HTTP or any WiFi feature, choose ADC1 pins first.
Good ADC1 choices include GPIO32 and GPIO33 for general analog sensors. GPIO34 to GPIO39 are also ADC1, but remember they are input-only.
Common Module Wiring
| Module | Recommended ESP32 pins | Note |
|---|---|---|
| DHT11 or DHT22 | GPIO4, GPIO16, GPIO17 or GPIO23 | Use 3.3V-compatible wiring and check pull-up needs. |
| OLED SSD1306 | GPIO21 SDA, GPIO22 SCL | Matches many Arduino examples. |
| GPS NEO-6M | GPIO16 RX2, GPIO17 TX2 | Keeps GPS away from USB serial pins. |
| Relay module | GPIO18, GPIO19, GPIO23, GPIO25 or GPIO26 | Do not drive relay coils directly from GPIO. |
| MQ analog sensor | GPIO32 or GPIO33 | Better when WiFi is active. |
Final Advice
Do not choose pins only because a random diagram says they exist. Choose pins based on function, boot behavior and project risk. For demo reliability, simpler pin choices are usually better.
Use the ESP32 Pinout Tool before wiring, then keep the selected pin links in your documentation.